Tutorial
How to Install Maven on Linux (Ubuntu)

While we believe that this content benefits our community, we have not yet thoroughly reviewed it. If you have any suggestions for improvements, please let us know by clicking the “report an issue“ button at the bottom of the tutorial.
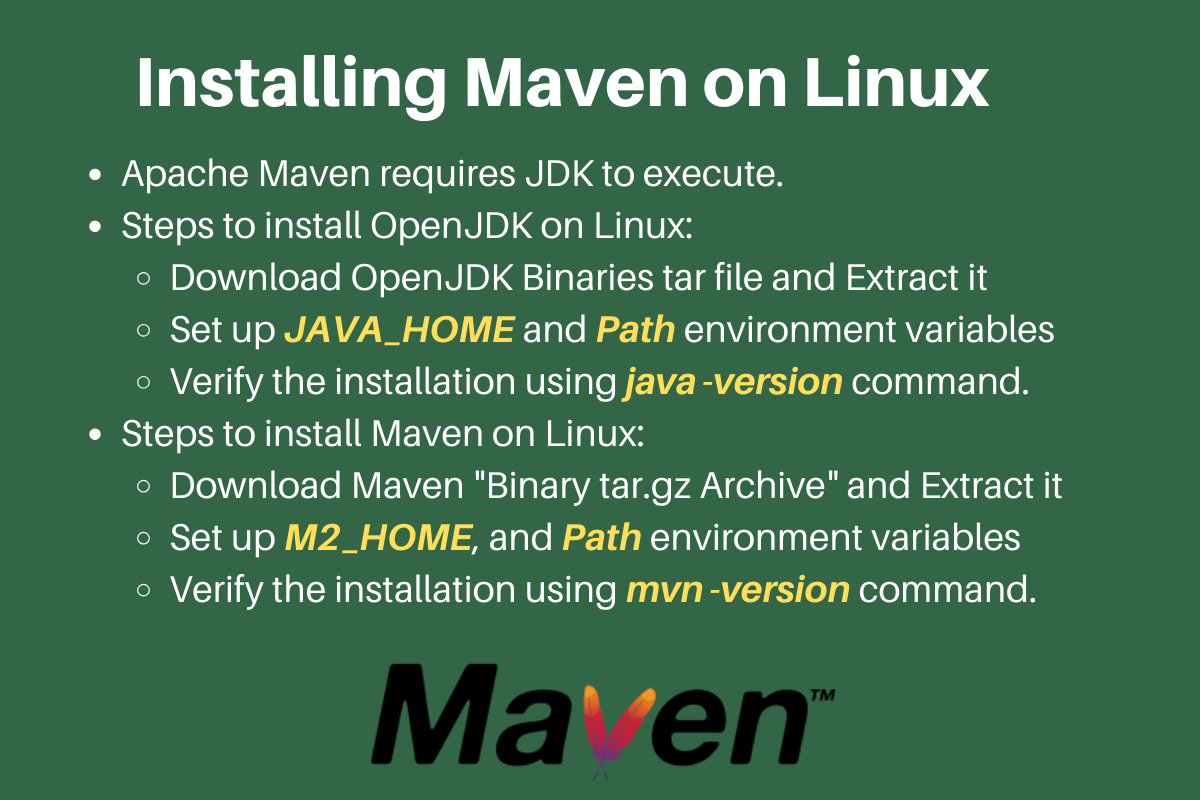
We can install Maven on Linux in a few simple steps. The first step is to install JDK because Maven needs it to execute. In this tutorial, we will learn how to install Maven in Ubuntu. The steps are generic and it will work fine on any other Linux system too.
Installing JDK on Linux/Ubuntu
Generally, we use apt package manager to install anything in Ubuntu. But, it doesn’t have the latest JDK packages. The current version is Java 13 but the command apt list -a | grep openjdk shows only available OpenJDK versions are 8 and 11. So, we will install JDK using binaries and setting some required environment variables.
Step 1: Download the JDK Binaries
Go to the URL: https://jdk.java.net/13/ Copy the download link for Linux/x64 build. Then use the below command to download and extract it.
$ wget https://download.java.net/java/GA/jdk13.0.1/cec27d702aa74d5a8630c65ae61e4305/9/GPL/openjdk-13.0.1_linux-x64_bin.tar.gz
$ tar -xvf openjdk-13.0.1_linux-x64_bin.tar.gz
$ mv jdk-13.0.1 /opt/
I have moved JDK to /opt, you can keep it anywhere in the file system.
Step 2: Setting JAVA_HOME and Path Environment Variables
Open .profile file from the home directory and add the following lines to it.
JAVA_HOME='/opt/jdk-13.0.1'
PATH="$JAVA_HOME/bin:$PATH"
export PATH
You can relaunch the terminal or execute source .profile command to apply the configuration changes.
Step 3: Verify the Java Installation
You can run java -version command to verify the JDK installation.
$ java -version
openjdk version "13.0.1" 2019-10-15
OpenJDK Runtime Environment (build 13.0.1+9)
OpenJDK 64-Bit Server VM (build 13.0.1+9, mixed mode, sharing)
$
Installing Maven on Linux/Ubuntu
We will install Maven in a similar way that we have installed JDK in the Linux system.
Step 1: Download the Maven Binaries
Go to the URL: https://maven.apache.org/download.cgi Copy the link for the “Binary tar.gz archive” file. Then run the following commands to download and untar it.
$ wget https://mirrors.estointernet.in/apache/maven/maven-3/3.6.3/binaries/apache-maven-3.6.3-bin.tar.gz
$ tar -xvf apache-maven-3.6.3-bin.tar.gz
$ mv apache-maven-3.6.3 /opt/
Step 2: Setting M2_HOME and Path Variables
Add the following lines to the user profile file (.profile).
M2_HOME='/opt/apache-maven-3.6.3'
PATH="$M2_HOME/bin:$PATH"
export PATH
Relaunch the terminal or execute source .profile to apply the changes.
Step 3: Verify the Maven installation
Execute mvn -version command and it should produce the following output.
$ mvn -version
Apache Maven 3.6.3 (cecedd343002696d0abb50b32b541b8a6ba2883f)
Maven home: /opt/apache-maven-3.6.3
Java version: 13.0.1, vendor: Oracle Corporation, runtime: /opt/jdk-13.0.1
Default locale: en, platform encoding: UTF-8
OS name: "linux", version: "4.15.0-47-generic", arch: "amd64", family: "unix"
$
That’s all. Maven is successfully installed in your Linux system.
Thanks for learning with the DigitalOcean Community. Check out our offerings for compute, storage, networking, and managed databases.

Get our biweekly newsletter
Sign up for Infrastructure as a Newsletter.

Hollie's Hub for Good
Working on improving health and education, reducing inequality, and spurring economic growth? We'd like to help.

Become a contributor
Get paid to write technical tutorials and select a tech-focused charity to receive a matching donation.


Excuse me, where to find the user profile file? Cannot find it anywhere. Thanks, kr, Yannick
- Yannick Mussche
no words super
- srikanth
Very helpful tutorial. It worked the first time like charm. Many Thanks!!
- Sanjay Ghosh
The current Linux x86 JDK is 15.0.1. During the command, tar -xvf openjdk-13.0.1_linux-x64_bin.tar.gz: there is openjdk-13.0.1, but the current JDK requires the modified command, openjdk-15.0.1.
- Jonathan M. Kelly
very helpful and genuine tutorial simply i love it.
- tabitha